Remember the main topic of the tread you're reading it in and remember the speed of text? A compiler would solve that problem and free up the space hogged by the PICAXE interpreter. it would probably also free me from the absolutely ridiculous idea of dividing program memory into slots (sorry, that's just how I feel about the slots). The obvious disadvantage of using a BASIC compiler is that the programmer needs to be present in order to program the chip unlike a PICAXE (or...)What are you trying to do/undertake that you wish to consider such alternatives to the FREE Revolution Education BASIC programming Editor environment?
Yes, 'excellant' support for PICAXE is free! Excellent support for the PICAXE is also free.Oh and another thing, the 'FREE' support you get in here is excellant.


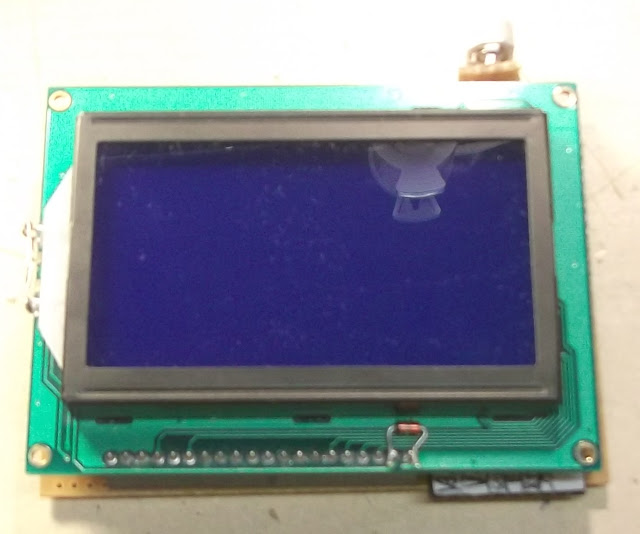


![P040811_09.56_[02]_crop_small.jpg](/data/attachments/7/7606-b13ea296457b5f3faca2b72e04cc2791.jpg)
![P040811_09.59_[01]_crop_small.jpg](/data/attachments/7/7607-378af4a61747c1b27b1dbfa8f93cd893.jpg)
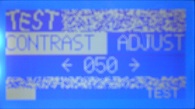
![P080911_19.24_[01]_annotated.jpg](/data/attachments/7/7834-2a943eb8ca50cd9fa6ea1c50b7e39eff.jpg)
")