Making wire length cutting machine, need coding help

Paix

Senior Member
Gattling gun LoL :)

How many different wire colours or discrete wire types in typical use?

For a future time of course - I was thinking that if you had a sliding rack with feed tubes and a spring retainer, so that only the selected tube at at the feed station was 'unsprung' (a cam at the feed point) then all the wires could be loaded into the appropriate tubes and the rack moved left to right to present the correct one.

Sorry if I caused any offence with my comment early in the thread. It seems that you have it pretty much cracked.

With a wire selector, you could automatically present the cutting list for a complete harness - One harness at a time of course :) Not something to get wrong though as it could waste a lot of wire. Gosh, this scope creep is infectious.

Good luck with the project. it sounds interesting and a lot of fun to have it working as you envisaged.
 

MikeGyver

Senior Member
I've made some good progress figuring out how to use the keypad. I've written some code that lets me enter a number 0-999 for inches with clear and enter for star and hash, just as I wanted.
The problem is (there's always a problem isn't there?) I need to convert inches to pulses, which is not a whole number. For my 33 tooth encoder there's 6.67 pulses per inch. Since picaxe doesn't do decimals, I could do 200 inches * 667 / 10 but for values higher than 98 inches it fills the word variable above its 65535 limit.
To multiply by 6.67, I've redone the math like this, but for non-whole numbers it's inaccurate due to rounding...
let pulsesa = inches * 6
let pulsesb = inches/10*6 + pulsesa
let pulses = inches/100*7 + pulsesb
Any ideas how I can do this accurately (at least up to 300 inches and the hundredths decimal place)? Is there was way to use number larger than 65535?
 

SAborn

Senior Member
Why not do feet and inches 12 x 6.67 = 80.04 thats close enough to 1 foot for me, then the remaining inches needed could be x 100/ x = ??.

Although some better planning prior to making an encoder dics could have been handy here. (like 5 pulses per inch).

If counter = 80 then
inc feet
counter = 0
inches = 0
endif

Inches = counter x 100 / 667
 
Last edited:

hippy

Ex-Staff (retired)
Factorise. Make the maths simpler and the result will still likely be accurate enough.

9999 = ( 99 x 100 ) + 99

Or perhaps change encoder wheels or gearing so you don't have such an awkward number of pulses per inch to work with which really simplifies the maths.
 

SAborn

Senior Member
To go 1 step further than i did above you could do.

Code:
If counter = 80 then
inc feet
counter = 0
inches = 0
endif

Inches = counter x 100 / 667 

Feet_to_inches = feet x 12
inches = inches + Feet_to_inches
Now you are back to inches.
 

MikeGyver

Senior Member
Unfortunately there's no ball bearing in my size range (that I've found) who's circumference comes out to a whole number of inches (or even a non-repeating decimal). I might lathe an aluminum ring that will press on my bearing and increase it's OD to 1.91", giving 6 inches of wire per rotation; or start with a smaller bearing.
 

SAborn

Senior Member
Or the encoder disc with 35 targets would give you within 1/2 an inch per 4 foot with the same bearing.
 

MikeGyver

Senior Member
Ok, I spent some time and figured out how to fully control my serial LCD :)
This project is coming right along now. I think I've done almost all of the learning and figuring out, now I need to proceed with tying up all the loose ends and assembling everything into the final product.

watch video here


One thing that's dumb as hell is in the video you can see it says cutting to 123in instead of 123". The serout command apparently can't send a " since it interprets it as an extra " tag for putting around ascii text to be sent. I really hope there's a way around this...
For example:
Code:
serout c.3,T9600_8, (254, 128,"Cutting to ",#inches,"[b]"[/b]")
 
Last edited:

nick12ab

Senior Member
One thing that's dumb as hell is in the video you can see it says cutting to 123in instead of 123". The serout command apparently can't send a " since it interprets it as an extra " tag for putting around ascii text to be sent. I really hope there's a way around this...
Use the ASCII code for " instead e.g.
Code:
serout c.3,T9600_8, (254, 128,"Cutting to ",#inches,34)
All other special characters on the LCD/OLED can be referenced in this way, simply check the character map in the datasheet.
 

MikeGyver

Senior Member
Explain to me if you would how you use the special characters on pdf page 4?
where did you get the 34 from?

*EDIT, I see you just get 00100010 from the character map then convert this binary value to decimal... or enter it as binary like so: serout c.3,T9600_8, (254,128,%00100010)

Question though, what are the first 2 columns of the special character map for?
 
Last edited:

marks

Senior Member
hi MikeGyver,
dont know if its already sorted but try this for your inches to pulses conversion(0-999inches)rounded up 1
w1=w1*20/3+1 : w1=w1/2220+w1
 

nick12ab

Senior Member
Explain to me if you would how you use the special characters on pdf page 4?
where did you get the 34 from?

*EDIT, I see you just get 00100010 from the character map then convert this binary value to decimal... or enter it as binary like so: serout c.3,T9600_8, (254,128,%00100010)
I just remember that 32 is space and all LCD character maps follow the space with ! then " then # then $ so I just counted along. Of course, #, $ and ! can be safely used within a string by just typing the symbol on a keyboard but " requires you to use the character code. If I need a symbol from the right hand side of the LCD character map then I check the datasheet and convert the binary to hexadecimal (quite easy to do in your head, just remember that the LSB of a nybble = 1, next 2, next 4, next 8 and add them to give a hex digit) because binary takes up too much space if it's in a long lookup table or serout command.

Question though, what are the first 2 columns of the special character map for?
The first column is for CGRAM characters which are custom design characters that you define (e.g. on a serial lcd send 254,64,data,data... to define the first character, see CGRAM wizard in Programming Editor) and the second column is just blank. LCDs don't all have the same character map so check this OLED datasheet to see the four most common character maps.

The datasheet for your own LCD will tell you what character map your LCD uses. The most common one is the English_Japanese one but Powertip tend to use Western_European II and Winstar OLEDs allow you to select any of those four in the datasheet.
 

MikeGyver

Senior Member
Sparkfun's datasheet doesnt show a map. It refers you to the HD44780 datasheet, which shows a couple different character maps. Based on a few characters that I tried, it looks like I have the English_Japanese table... What a waste... so many completely useless characters :(
 

MikeGyver

Senior Member
In case you're wondering, yes I'm still working on this project and it's still evolving.

I wasn't really getting anywhere with my cutter so I decided to redo it all.
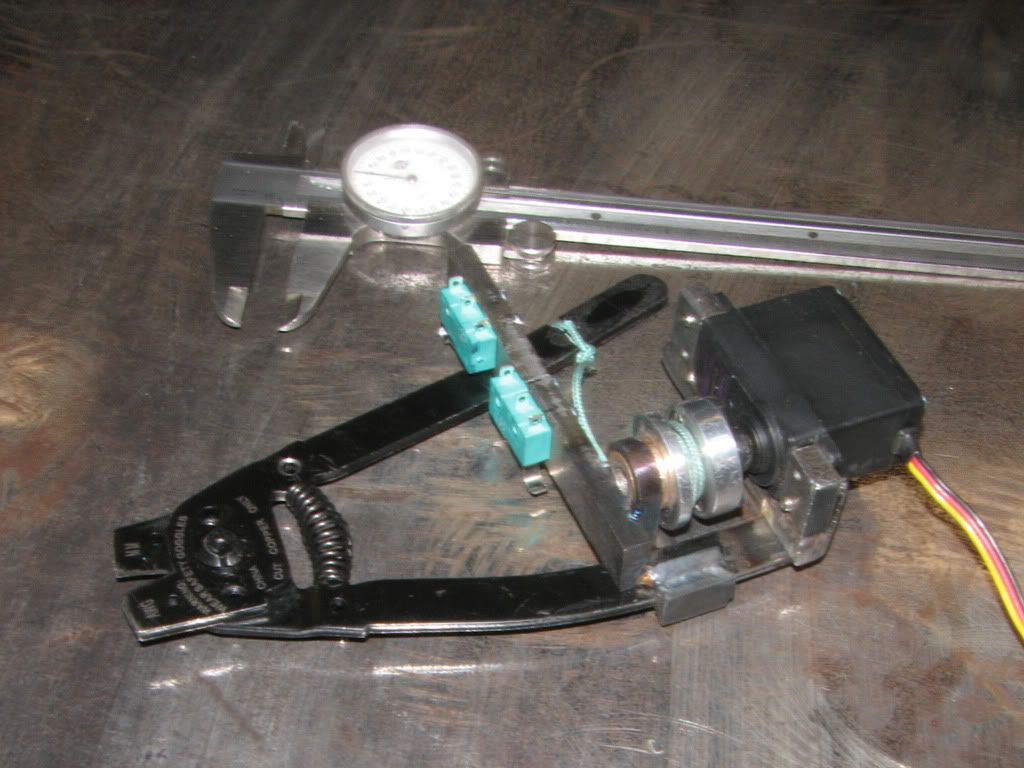
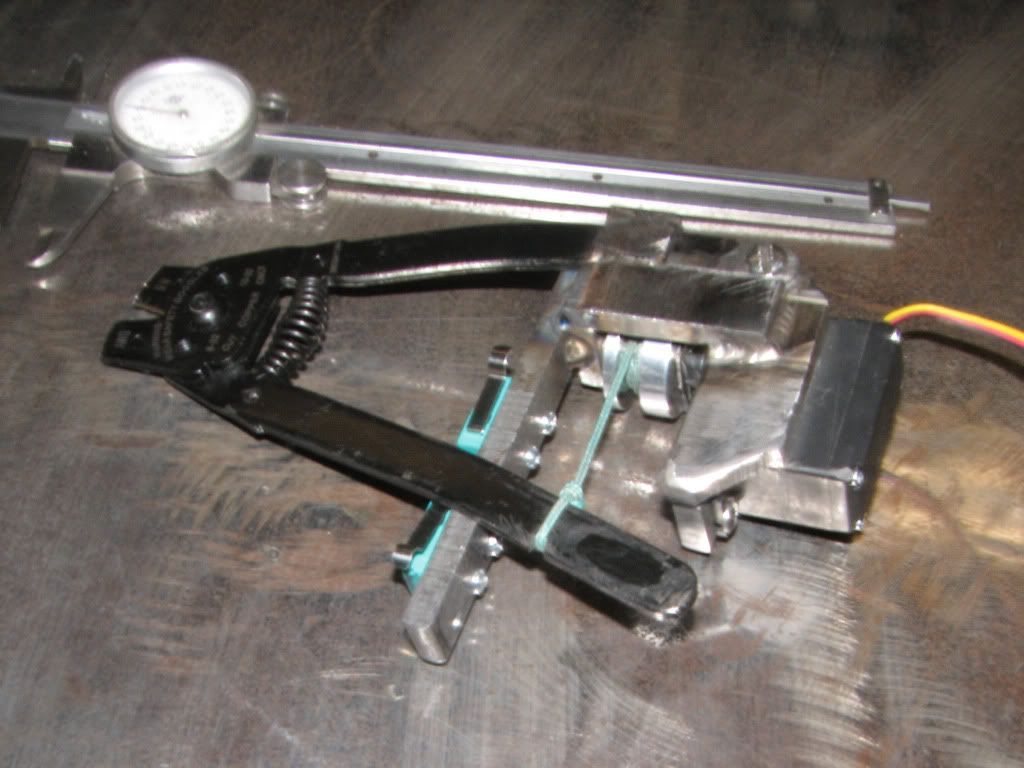
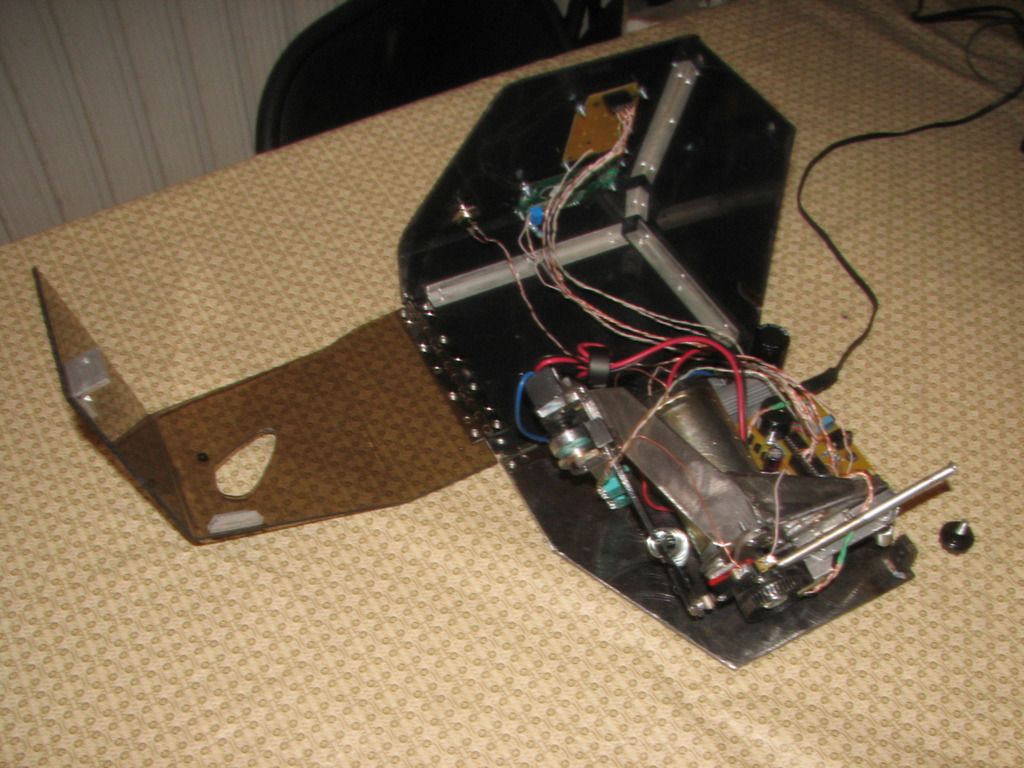
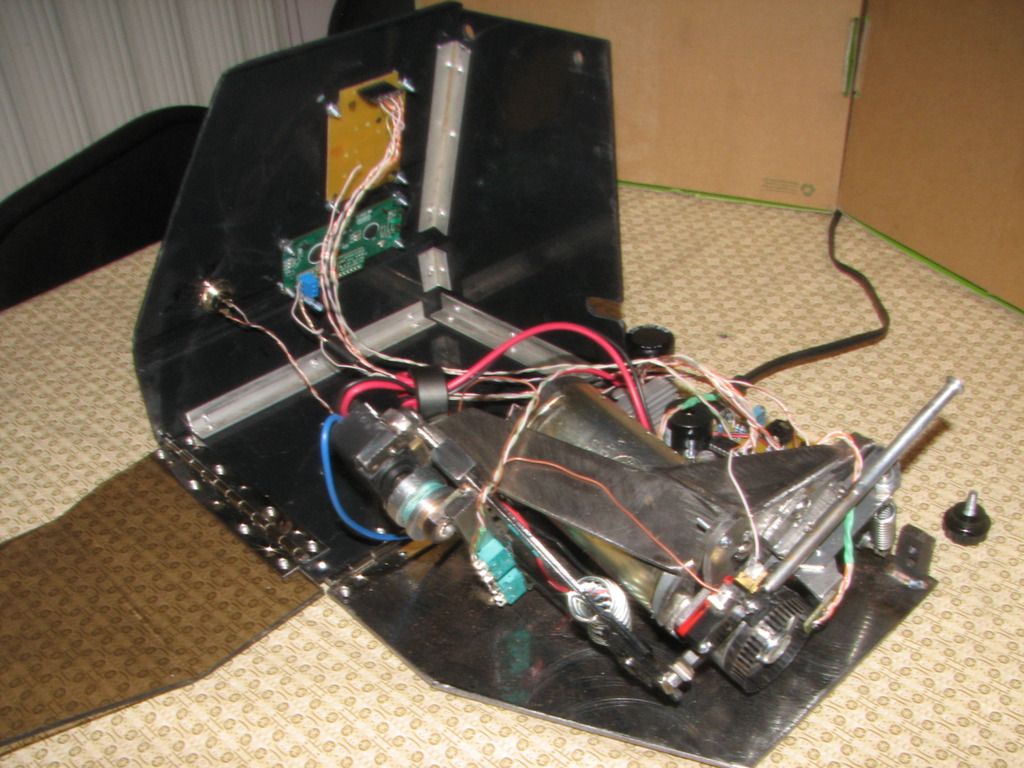
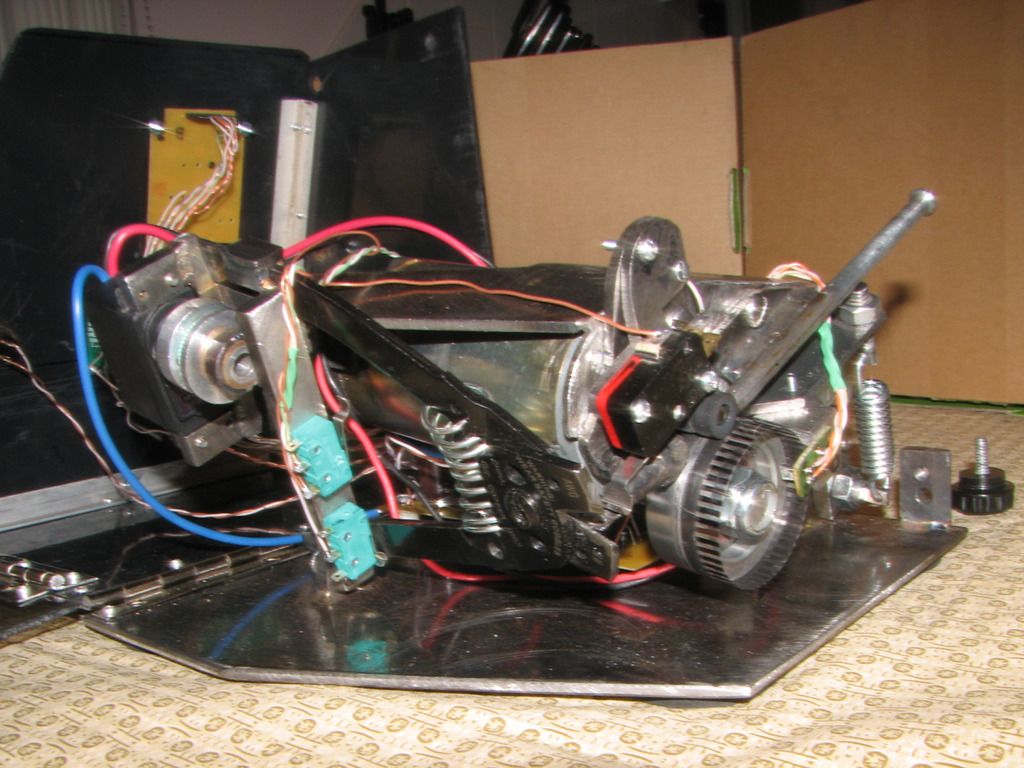
I got some new cutters ($4) which as equally as sharp; the longevity and reliability should be much better with shear type cutters rather than the dike style ones. The shape of the blades should help prevent feed jams if the wire were to strike them. The cutters are held on with a single screw, so they will be easy to change if ever required. In the pics you can also see the two green limit switches.


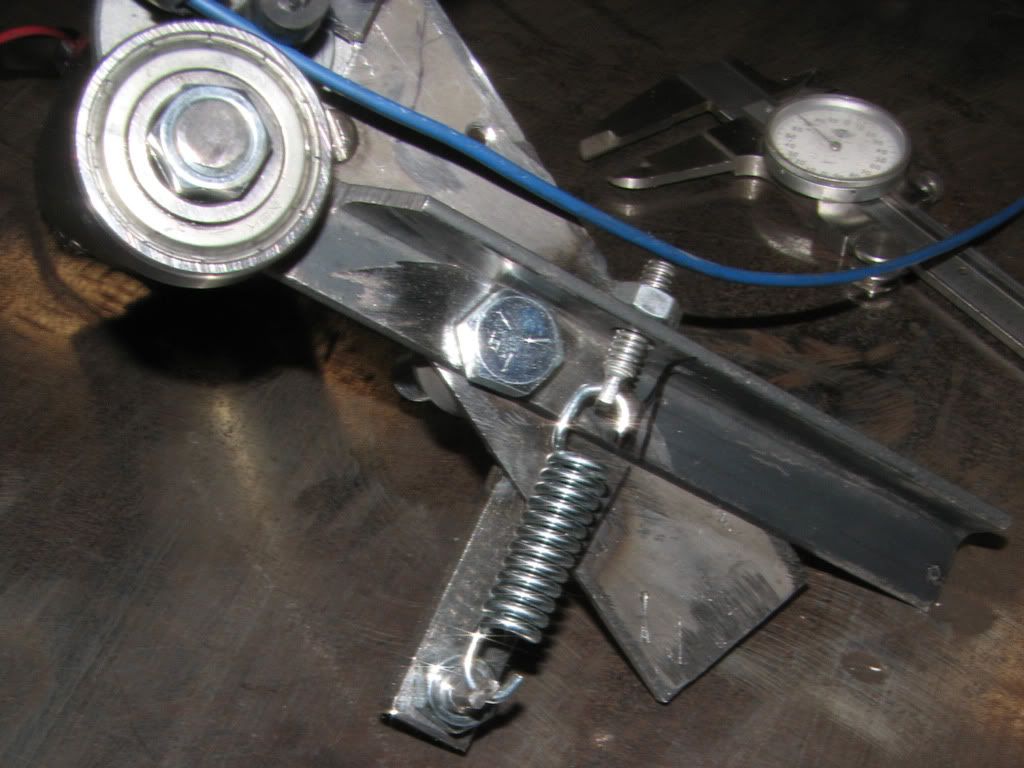
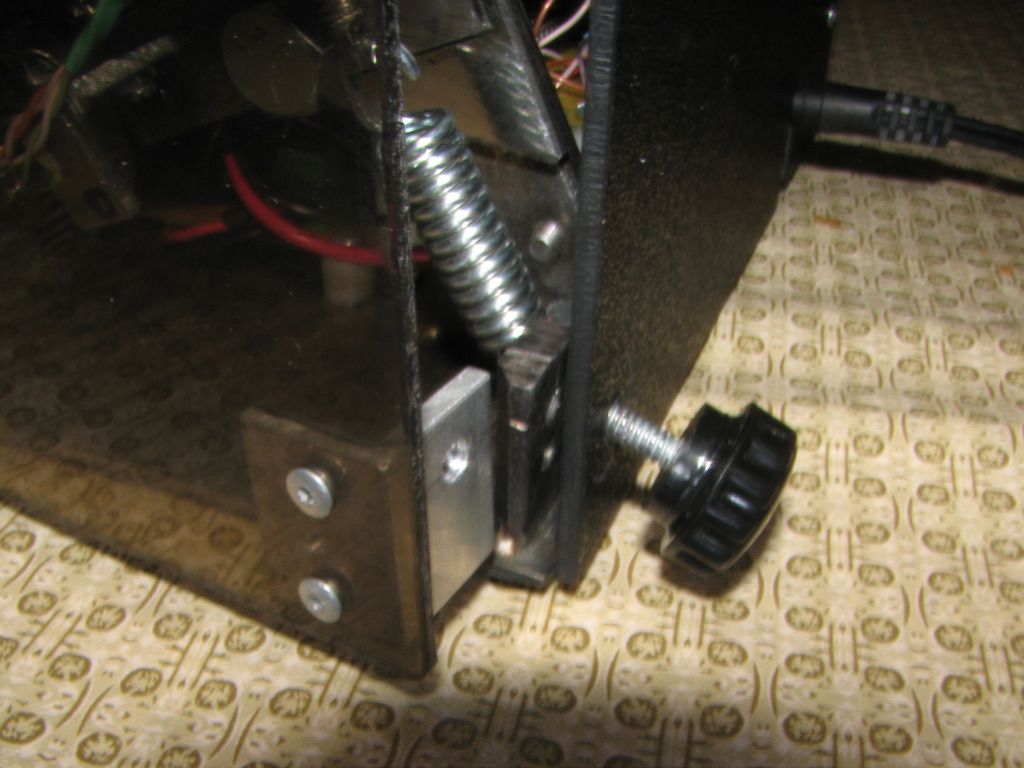
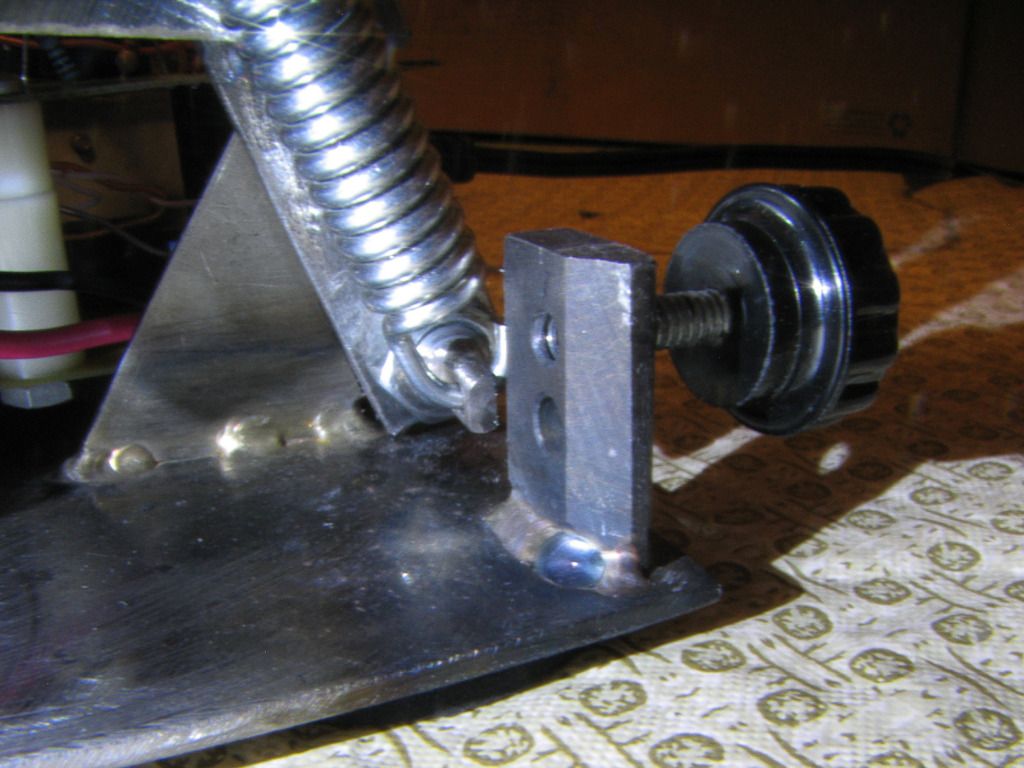
Also permanently mounted the tension spring. The design allows for easy adjustment by turning the nut, works very well.

 
Last edited:

MikeGyver

Senior Member
I've got everything all put together and working with a temporary encoder wheel; doing some debugging. It's pretty exciting to see the wire feed and cut to (close to) what im calling for.

Im using the command settimer count 65535, this should cause timer to increment on each rising edge because 65535 will overflow. Any idea why timer is incrementing on the rising and falling edge of the count pin? The manual says it should only increment on the rising edge. Chip is a 28x2 running at 64mhz using the command setfreq em64 and an 16mhz external oscillator.
 

matherp

Senior Member
Could be just some switch "bounce". Try connecting the opto-sensor to the processor through a resistor and then a capacitor to ground to make a low pass filter.
 

MikeGyver

Senior Member
It doesn't appear to be switch bounce or a hysteretic issue. I'm running the IR sensor through a comparator to provide rail to rail sq waves with uber-fast rise/fall times. It's kinda weird because it wan't doing it with the 28x2-5v chip I was using last week.
 

MikeGyver

Senior Member

Making progress...
Added a quantity option to the menu. You can see the feed motor reversing for an inch between cuts so the limit switch senses the tip of the wire for more accurate multi-quantity cuts.
This is running at 2 ft/sec (12v). The servo winch is now running on the full 9v.
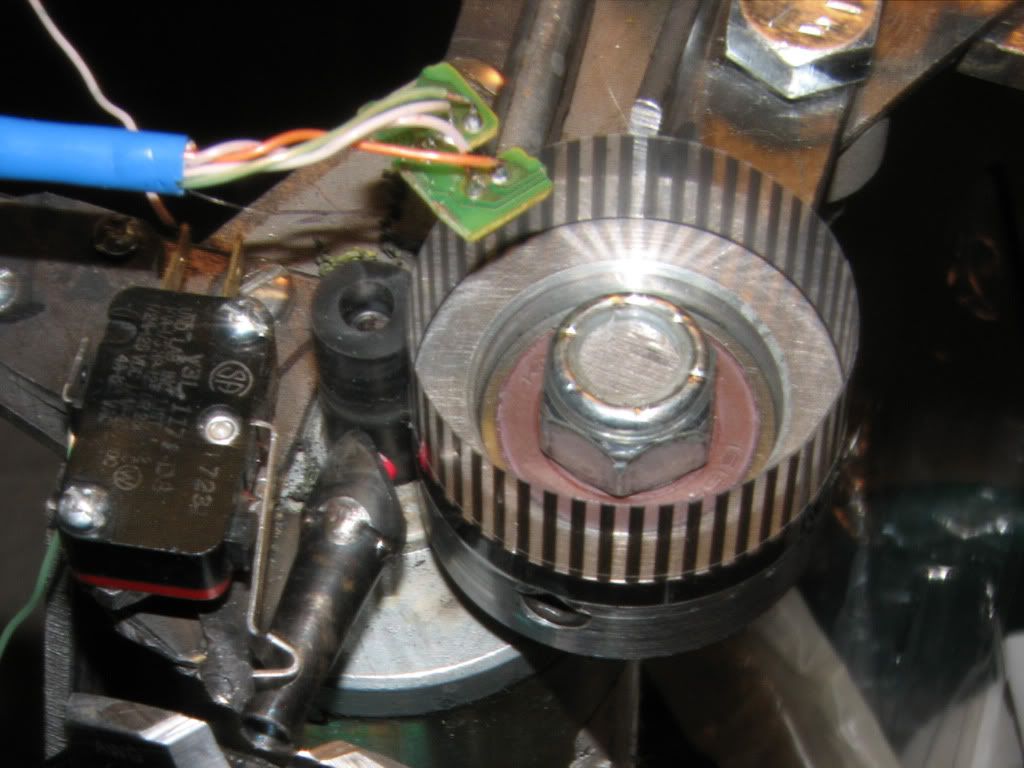
The new (but still temporary) optical encoder is laser printer transparency that has 49 bars per revolution.
 
Last edited:

John West

Senior Member
Needs work. It isn't stripping the wires yet. :)

I had to measure, cut and strip a few hundred 16g wires the other day. No fun at all. This would certainly have saved a lot of time, work, and stress on my poor old carpel tunneled wrists.
 

MikeGyver

Senior Member
I've got a lot of work done since my last update post.
I bought a 1-1/8" OD ball bearing and a locking collar for it. I lathed the colar down to exactly 5" circumference (1.5915"). This eliminates the need to do any weird non-integer math. It seems to be accurate at any length now. The encoder has 50 lines; 10 lines per inch. It's counting on the rising and falling edges so there are 20 'counts' per inch.


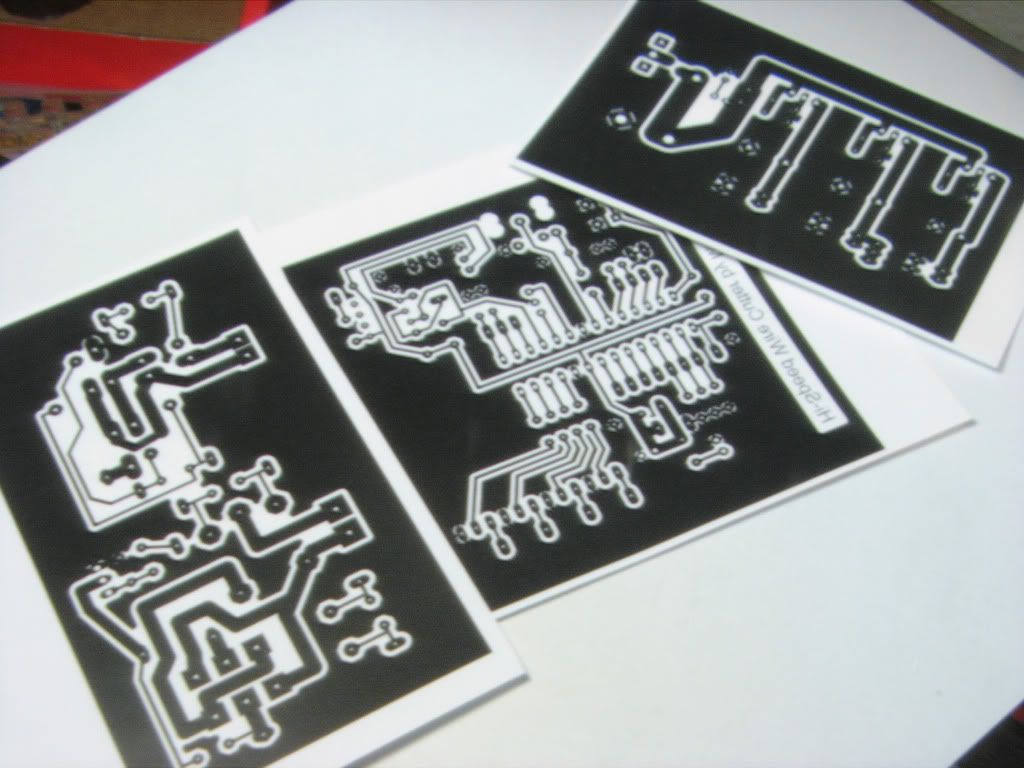
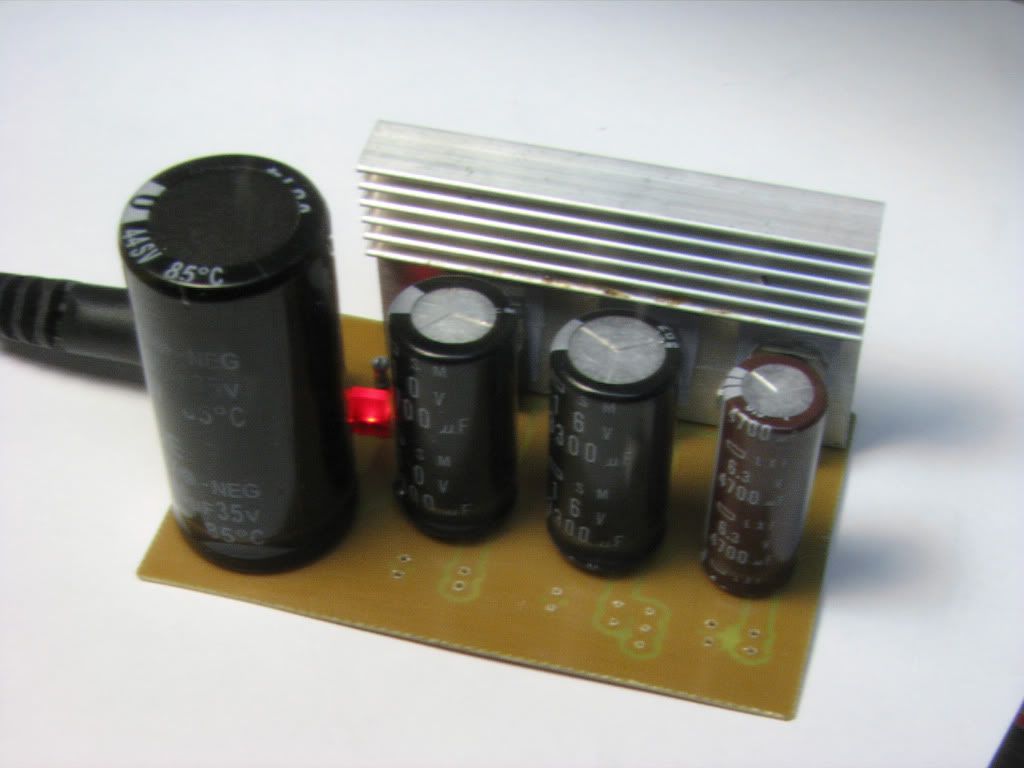
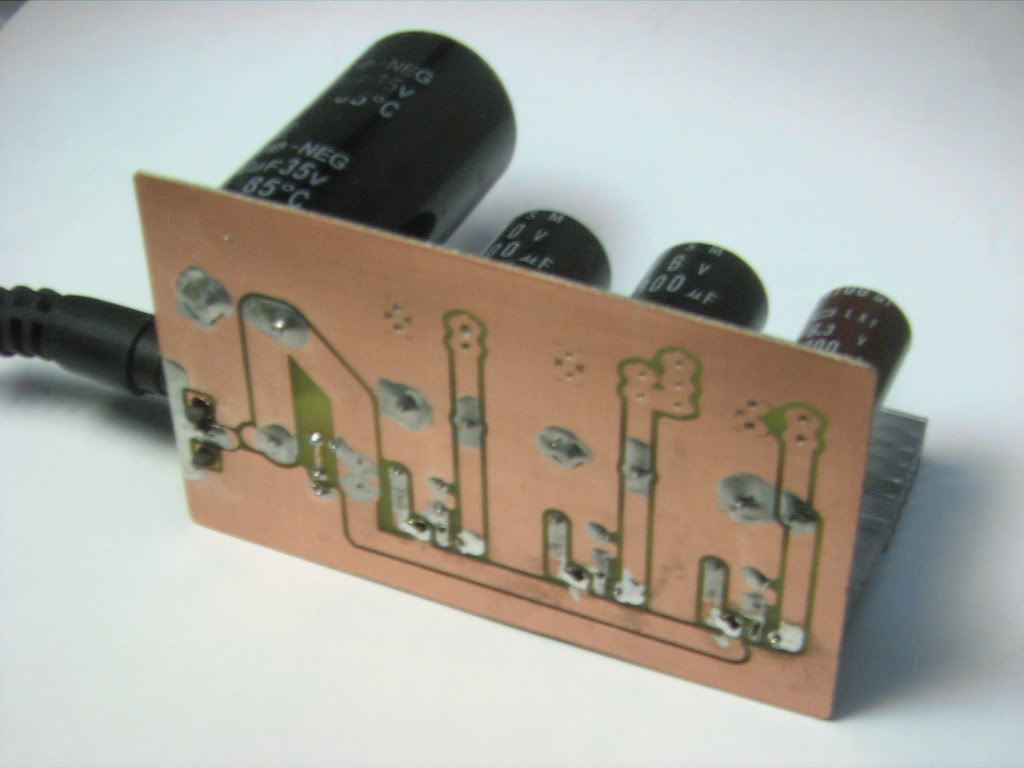
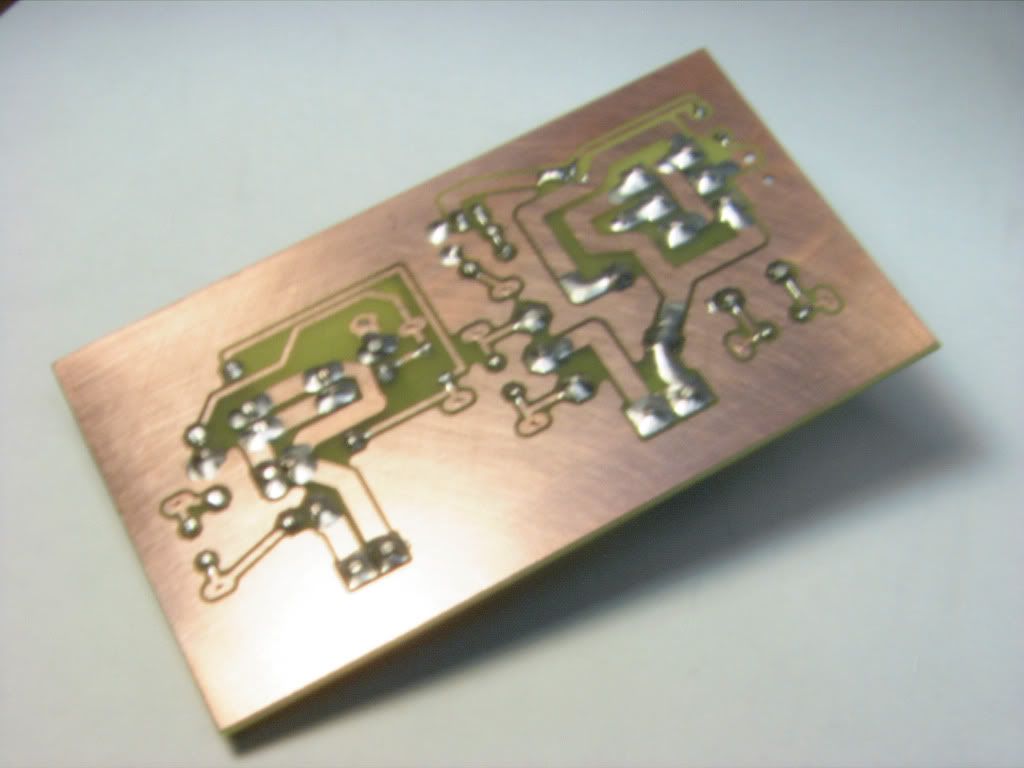
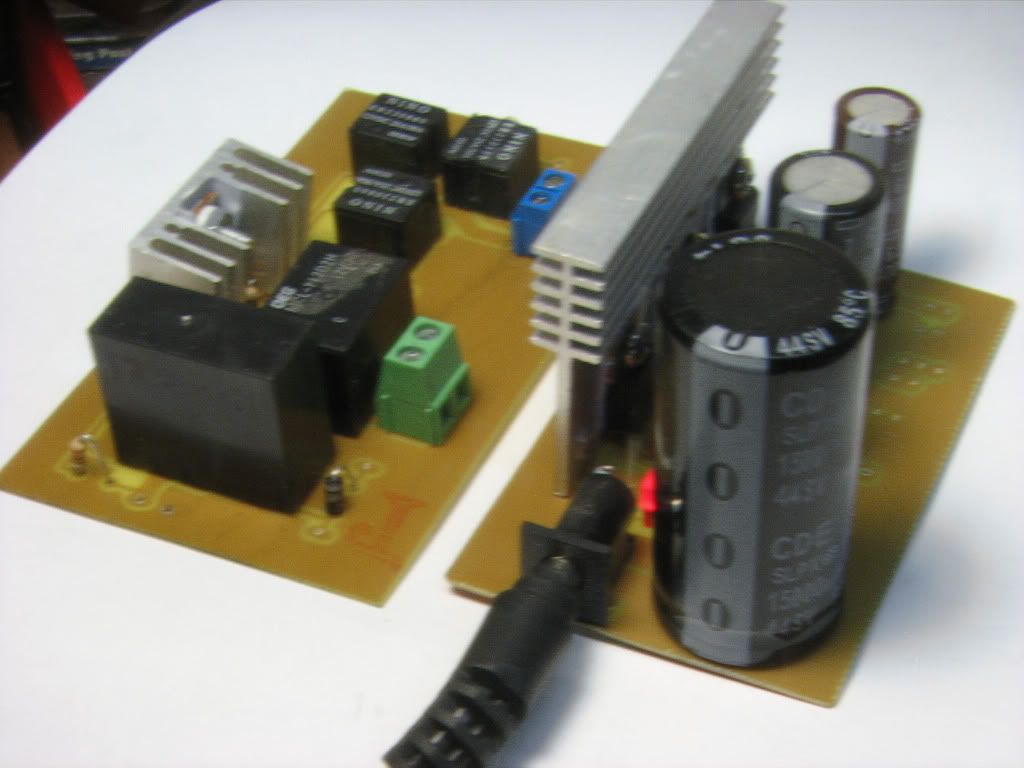
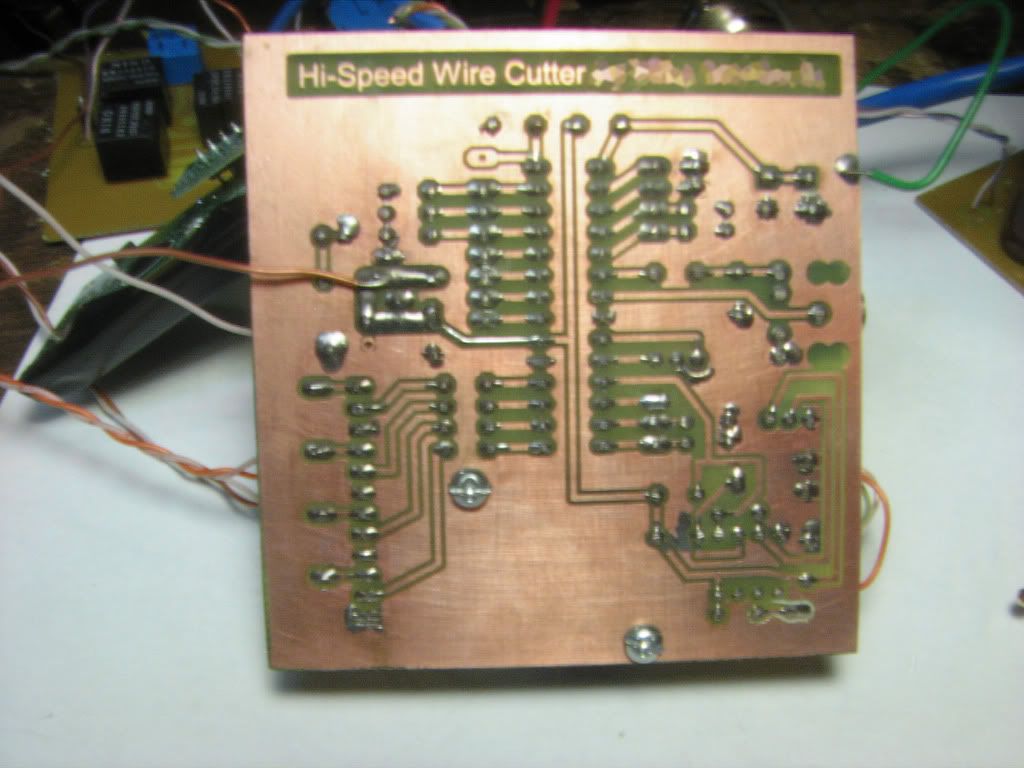
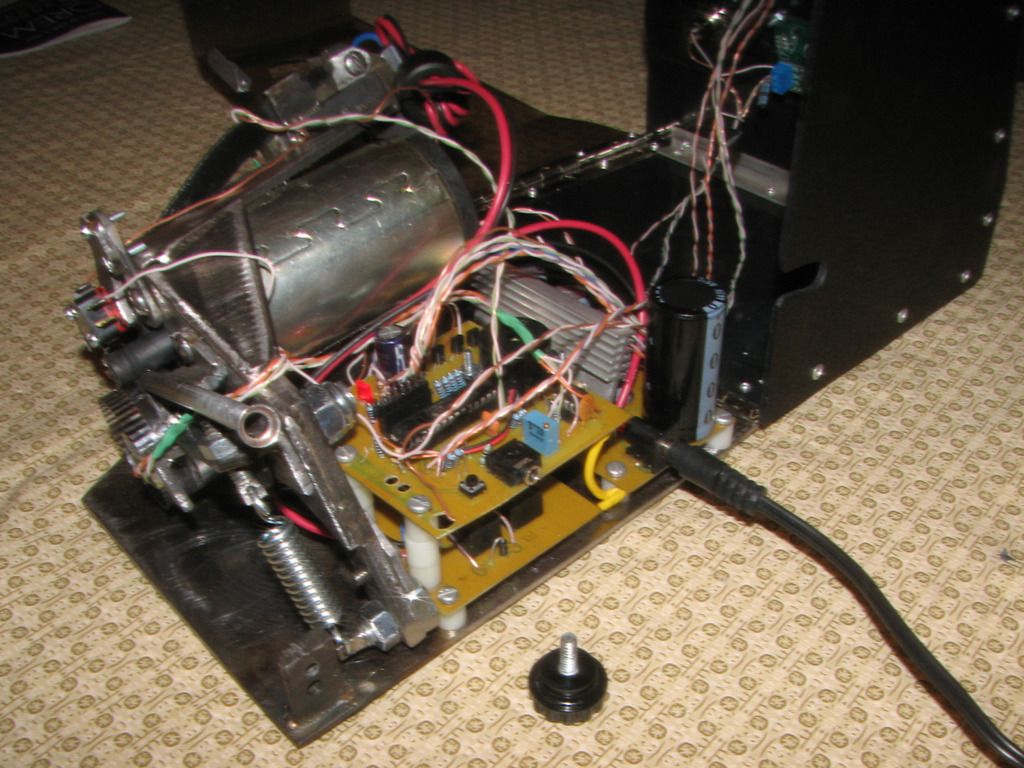
Also I have finalized the design and finished the PCB layout in Eagle. Since I was using weird components I had laying around, I had to make a ton of custom parts in Eagle. I had to split all the electronics up into 3 boards: power, relay, and picaxe.


The power board consists of a 24v laptop style power supply feeding the board which has a lm7805, lm7809, and lm7812, for logic, servo winch, and relays respectively.


MikeGyver

Senior Member
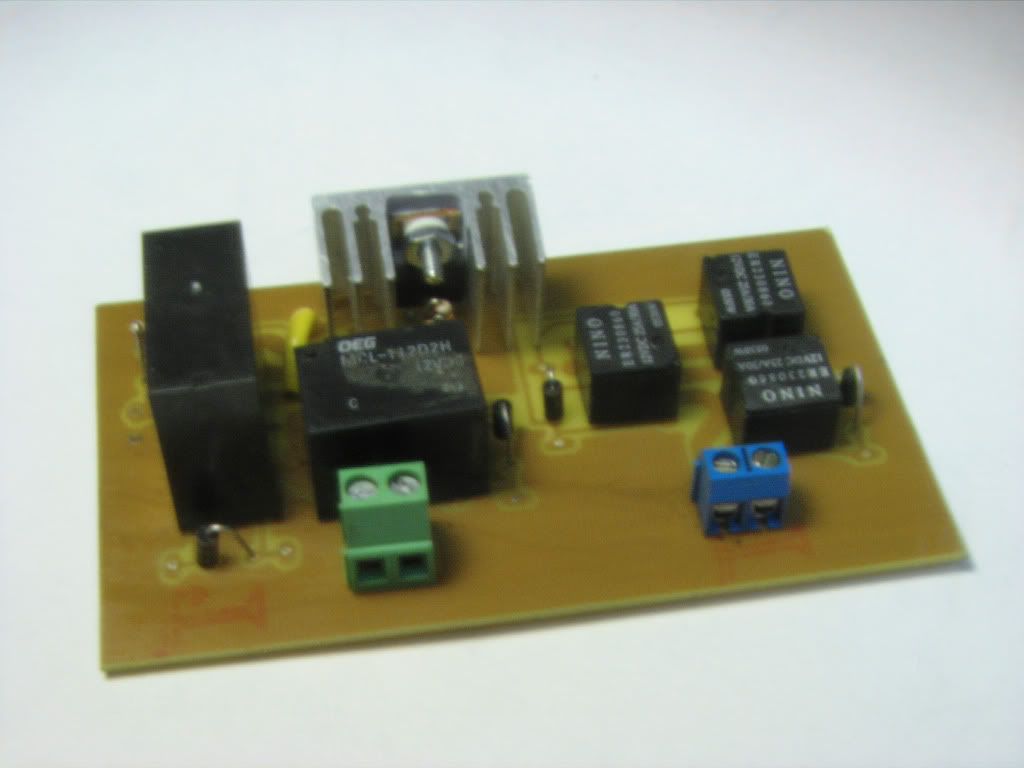
Here's the relay board. Also includes the PWM speed control mosfet incase I decide to tinker with that in the software later.


I haven't etched the the Picaxe board yet. I'll probably make it tomorrow.
 

MikeGyver

Senior Member
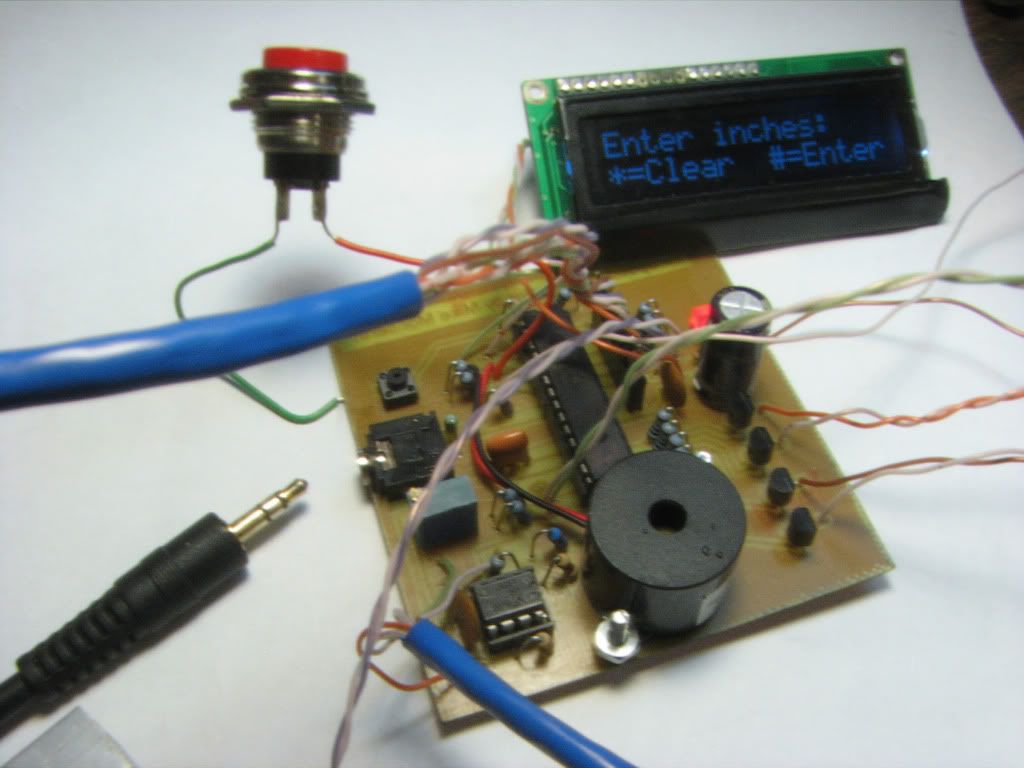
New picaxe board...


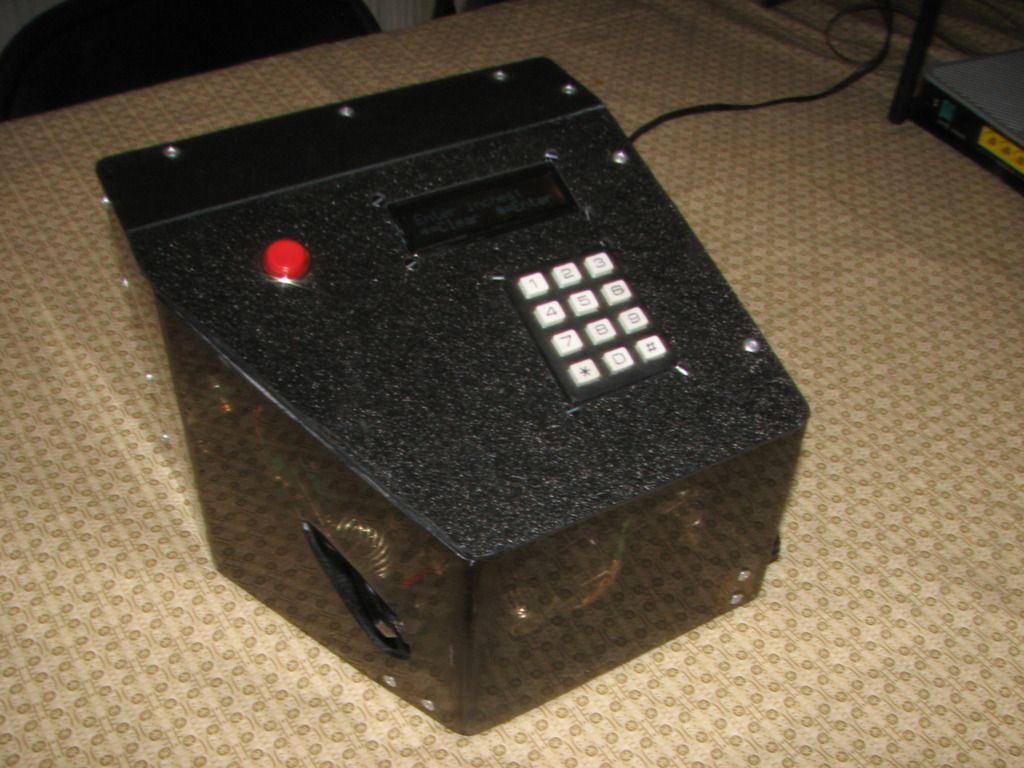
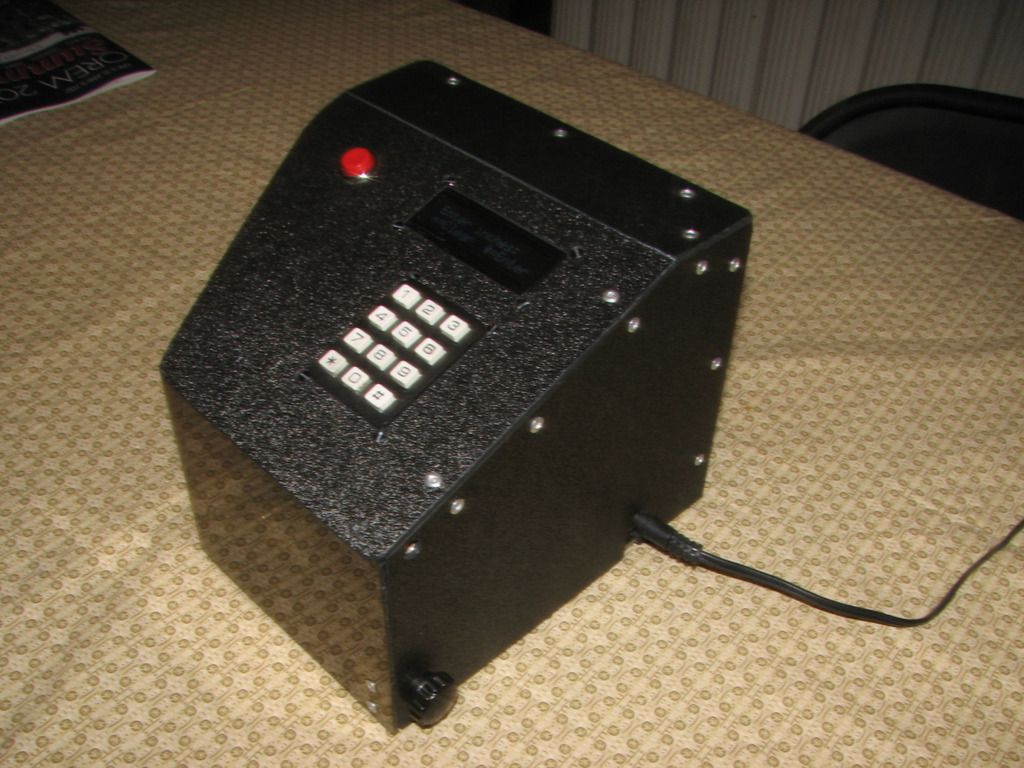
Everything's together and working... Now I need to figure out some kind of housing for it all.
 

MikeGyver

Senior Member
I want to set up the red button in the picture above as an emergency stop. I'm trying to figure out a good way to do this. The setint command required a return command, but I don't want to return, I want to go to main. Any ideas on how to do this? I'd rather not just have it reset...
 

MartinM57

Moderator
...just wire it to leg 1 - reset?

Tie leg 1 high with 4K7 and if the red switch is push-to-make, connect it between leg 1 and ground.
 

hippy

Ex-Staff (retired)
It perhaps depends on what "emergency stop" means in practice.

If it's to save someone having fallen into the machinery, are about to get snipped along with the wire, a full-blown power-kill may be appropriate but if it's just you have 1000m of wire flying out when you meant 10m you can handle that more leisurely.

You can interrupt, set the outputs for 'stopped', set a flag to indicate that, then have the rest of the code bale out whenever it sees that flag set, or simply RESET.
 

MikeGyver

Senior Member
I suppose I should follow up on this project.
I finished it a few weeks ago and It's working well. I've been using it at work to aid in cutting wires for making harnesses. It especially saves a lot of time cutting out multiple wires of the same length.
I'll post a better video when I make one.


Click to View Video
 

bfgstew

Senior Member
Nice finished project Mike, an interesting read from first concept to finished item, congrats on a succesful project and thanks for sharing.

Stewart
 

MikeGyver

Senior Member
Seriously guys, thanks for the help with the coding. This is by far my biggest endeavor into picaxe and I've gained a lot of confidence with coding and implementing some sort of user interface.
 
Top