The whole point of a good iron and tip is that when it wets it allows better conduction to the solder wire which melts more quickly and gets the flux doing it's job.
This, in turn, gets heat more quickly to the pad/leg and allows solder to flow and stick more quickly.
Result: a more rapid soldering action with less solder/flux used and, hopefully, less total heat getting to device.
The solder joint should then look more like a
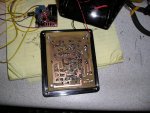
cone rather than the randomly shaped blobs shown in your photo.
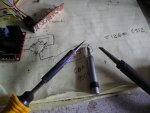
We've all started off with Mr Blobby solder joints but please seriously consider a good quality iron and bit
")
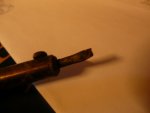
You may strike lucky with a ting-tong iron but, after many tedious years of faffing, I wouldn't consider buying cheapo ever again.
Scouring powder? You should decontaminating the PCB and not putting unknown chemicals onto it.
If I have a grubby board I give it a quick rub with that green fibrous stuff then a rub with a clean rag and IPA.
I sometimes use a fine brass wire brush with care and then IPA.
Those little solder joints should take about 1 second per joint.
And yes , you will always get a certain amount of flux residue afterwards.
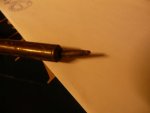
Get a good iron. Get a known make. Don't be tight.
It'll save time and could save a component and could save damaging a PCB (that you spent 2 hours making).